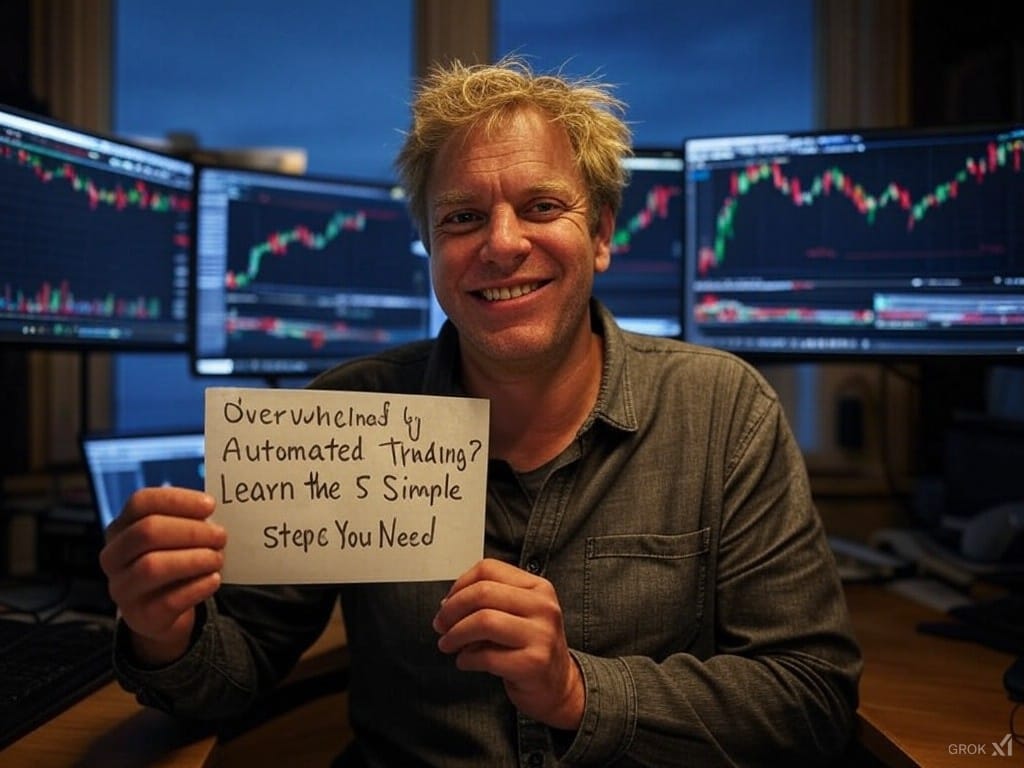
Overwhelmed by Automated Trading? Learn the 5 Simple Steps You Need.

If you’re anything like I was a few months ago, the idea of automated trading has you both curious and completely overwhelmed.
You’ve probably got questions swirling in your head:
- What do I even need?
- Is this going to be a tech nightmare?
- Am I smart enough for this?
Let me tell you, I was you.
A total beginner with zero trading experience, nervous I’d mess everything up.
But here’s the thing... it’s not as complicated as it seems.
In fact, I’ve boiled it down to five super simple steps that got me started with automated trading using Galileo FX.
Spoiler: if I can do it, so can you.
Step 1: Grab What You Need (It’s Not Much)
The first thing I learned?
You don’t need a Wall Street setup to get started.
Here’s all you’ll need:
- A computer or laptop (even my beat-up old laptop worked just fine).
- MetaTrader 4 or 5, which is a free trading platform you download from your broker’s website. If you don't have a broekr yet, no worries. Use the free account available when you install MetaTrader 5 (it's 100% free).
- Galileo FX, the automated trading bot that does the heavy lifting for you.
That’s it.
No fancy hardware.
No coding knowledge.
If you can handle online shopping, you’re already qualified.
Step 2: Install the Bot (No, You Won’t Break Your Computer)
This was the part I was dreading... installing Galileo FX.
I imagined myself clicking the wrong button and somehow erasing my entire hard drive.
Turns out, the installation process is ridiculously easy.
They’ve got step-by-step video guides that show you exactly what to do.
I had the bot up and running in about 15 minutes.
And if even that feels like too much, they offer a remote installation service where someone sets it up for you.
Step 3: Play with the Demo Account (No Real Money Yet)
Here’s where the magic happens—without any risk.
The demo account lets you see how the bot works in real-time, using fake money.
This was a big discovery for me.
I got to experiment with settings, test strategies and make mistakes (lots of them) without losing a dime.
Think of it as a “try before you buy” experience.
You can take your time, get comfortable and see how Galileo FX handles trades before you put any real money on the line.
Step 4: Choose a Pre-Made Strategy (No Guesswork Needed)
Here’s something I wish I’d known sooner: you don’t have to figure everything out yourself.
Galileo FX comes with pre-configured strategies that you can download and use right away.
I went with a conservative strategy to start but they’ve got options for all kinds of traders... whether you’re cautious or a little more adventurous.
You just pick one, load it into the bot, and let it run.
It’s like choosing a playlist: they’ve done the hard work of curating; you just hit play.
Step 5: Start Small and Let the Bot Work
When I finally moved from the demo account to real trading, I kept it small.
No big, risky moves.
I let the bot handle things while I sipped my coffee and watched it do its thing.
The best part? The bot doesn’t panic, get greedy or make impulsive decisions like I probably would.
It just follows the rules I set, methodically executing trades based on data, not emotion.
Bonus: Trust the Process
I get it... automated trading can feel intimidating at first.
But once you take that first step, you’ll realize how simple it actually is.
The key is starting small, using tools like Galileo FX to simplify the process and trusting the bot to do its job.
If you’re overwhelmed, don’t be.
Just follow these five steps and you’ll go from “I can’t do this” to “I can’t believe how easy this is.”
Remember, you’ve got this: and if I can do it, you definitely can.


